Dimensional
Dimensional quantities
The esz laboratories for the calibration of dimensional quantities work for customers in the mechanical engineering, vehicle and aircraft construction sectors. Our technicians calibrate at reference conditions of 20 °C ± 0.5 K on state-of-the-art machines from the measuring technology supplier Mahr.


Your calibration offer
We’ll be happy to provide you with a no obligation quote for the calibration of your measuring devices.
Perfect infrastructure for dimensional quantities
More precision and less electronics are at the heart of the traceability to the unit “meter” in the length measurement laboratory. The architecture and air conditioning of our laboratories for dimensional quantities are designed with this in mind. In order to minimise the influence and entry of dust, the measuring rooms are kept under slight overpressure in addition to constant air conditioning. The in-house developed gauge block tester was accredited back in 2005, together with the approvals for hand-held measuring equipment, micrometres and dial gauges.
Manual measuring equipment
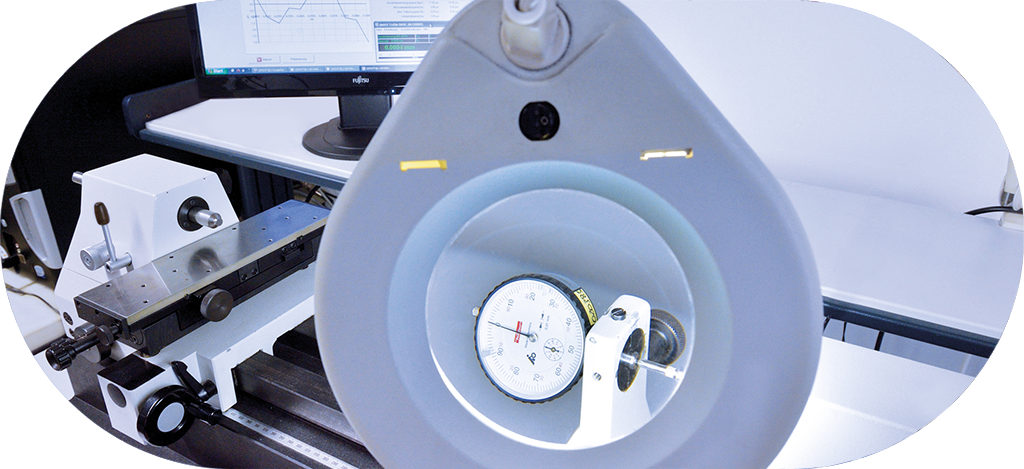
The calibration of dial gauges, callipers and micrometres is carried out in accordance with VDI/VDE/DGQ/DKD 2618, Sheet 11.1, VDI/VDE/DGQ 2618, Sheet 9.1 or VDI/VDE/DGQ 2618, Sheet 10.1. The former is calibrated on an automatic dial gauge test bench from Mahr in order to be able to carry out the more than 600 measuring points at a reasonable cost and at the same time exclude the influence of the technician on the measurement results.
Calibration also includes a visual inspection of the line scale and the digits for legibility as well as a functional check of the movement over the entire measuring range. We also check the adjustability or self-locking of the graduated scale and the tolerance marks as well as the advance and overrun of the pointers, the revolution counter and the lift-off device.
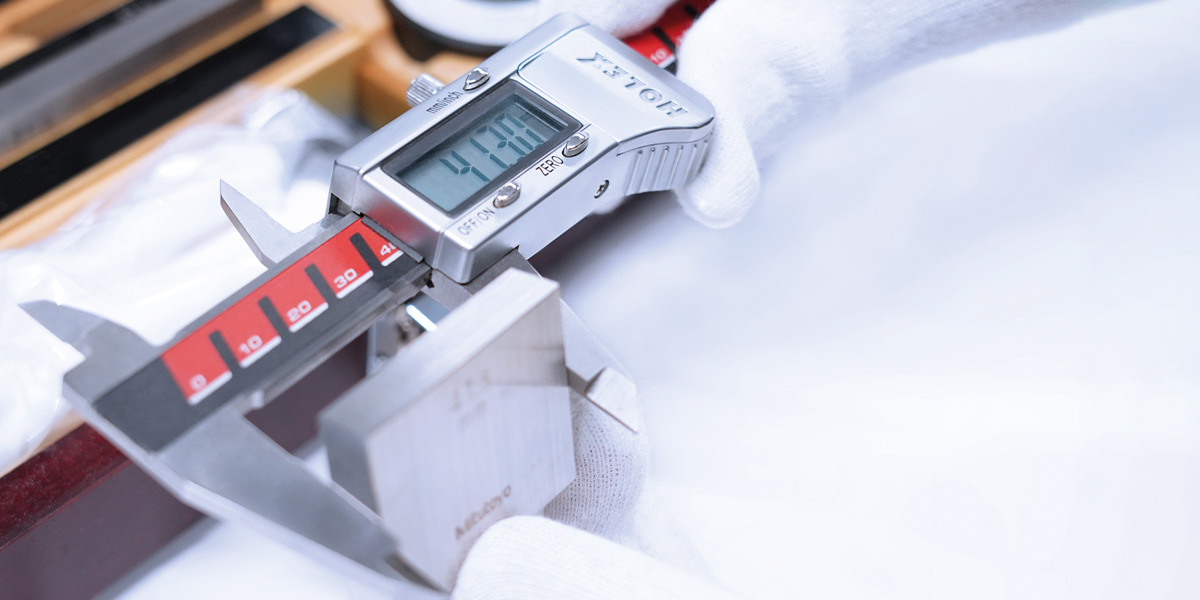
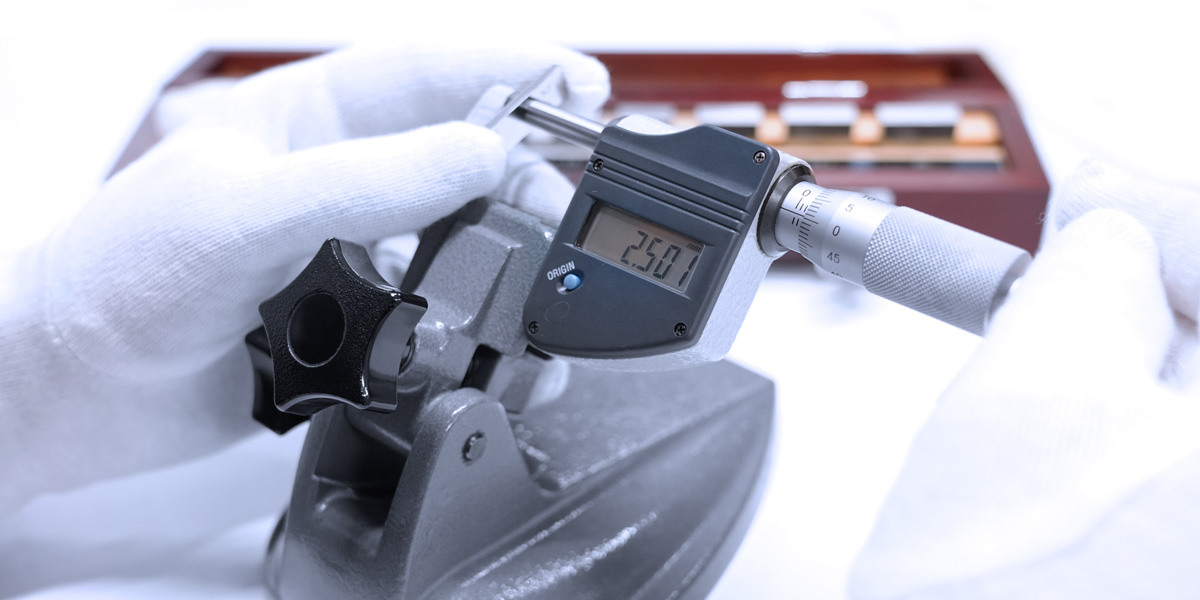
High-precision manual work with calipers and micrometers
Dial gauges are calibrated on our test benches for dimensional measurement values. We determine deviations in the display of outside micrometres and callipers with parallel gauge blocks or combinations of parallel gauge blocks at several points across the measuring range. From the measurement deviations, we may also determine the largest measurement deviation fmax. In addition, we determine the parallelism and flatness of measuring surfaces using a plane-parallel glass test gauge set.
Gauge blocks
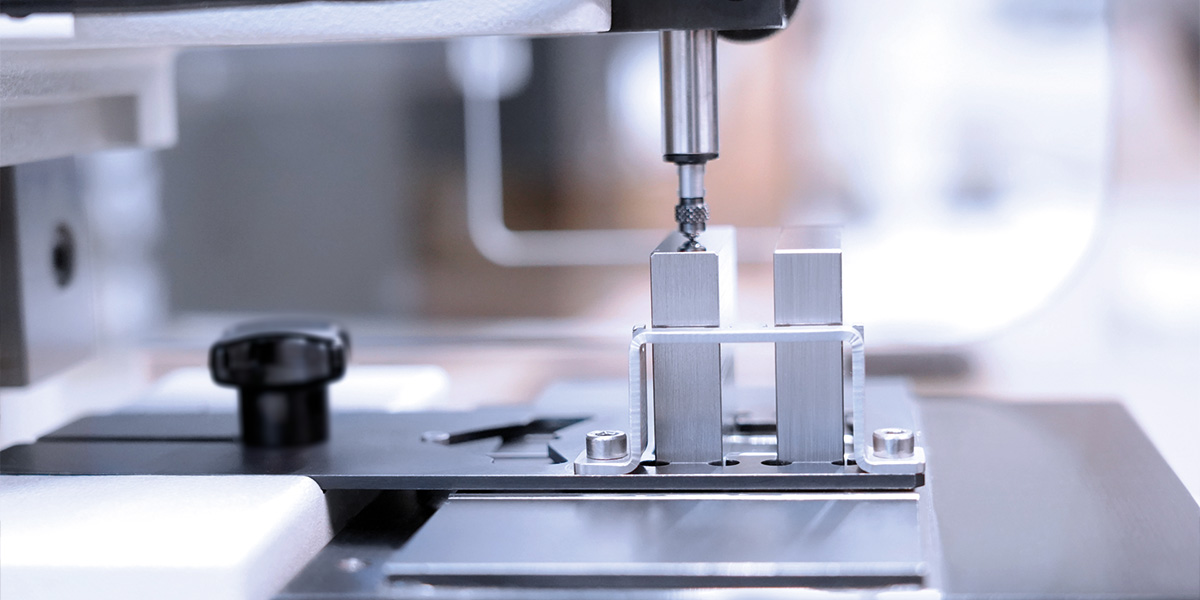
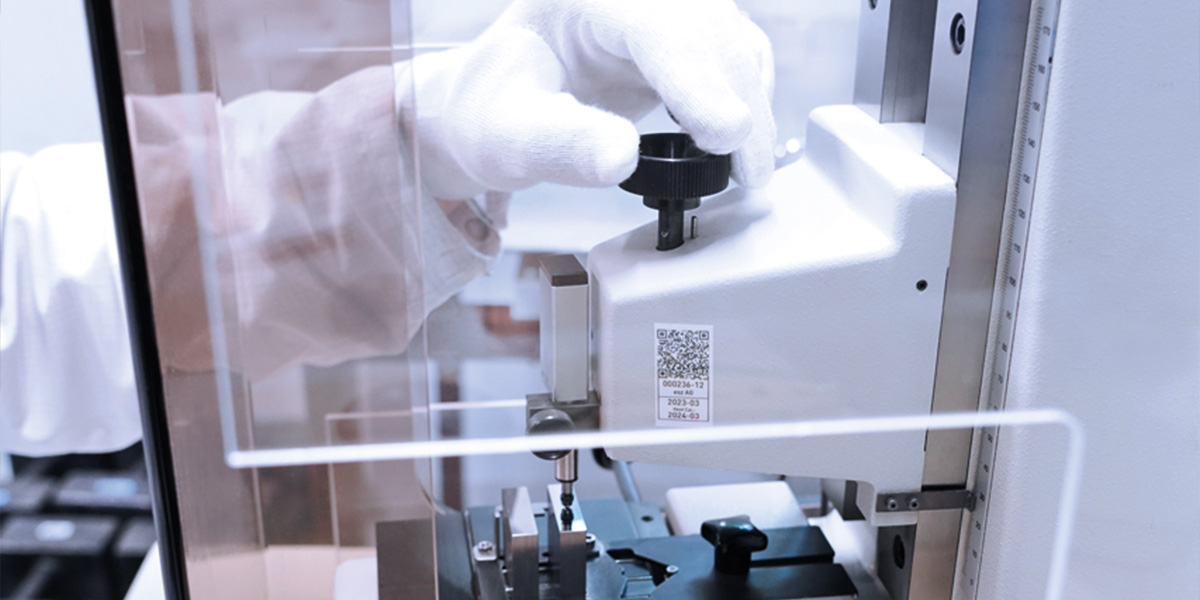
For the calibration of gauge blocks, we use a gauge block comparator with maximum accuracy in accordance with VDI/VDE/DGQ 2618, Sheet 3.1. The substitution method allows the calibration of gauge blocks in the graduation of their own standards in the range between 0.5 mm and 100 mm. The measured values are processed electronically and semi-automatically, and the results are evaluated on PC clients. The deviation of the centre dimension from the nominal dimension and the upper or lower deviation from the centre dimension fo and fu are checked and documented.
Length standards
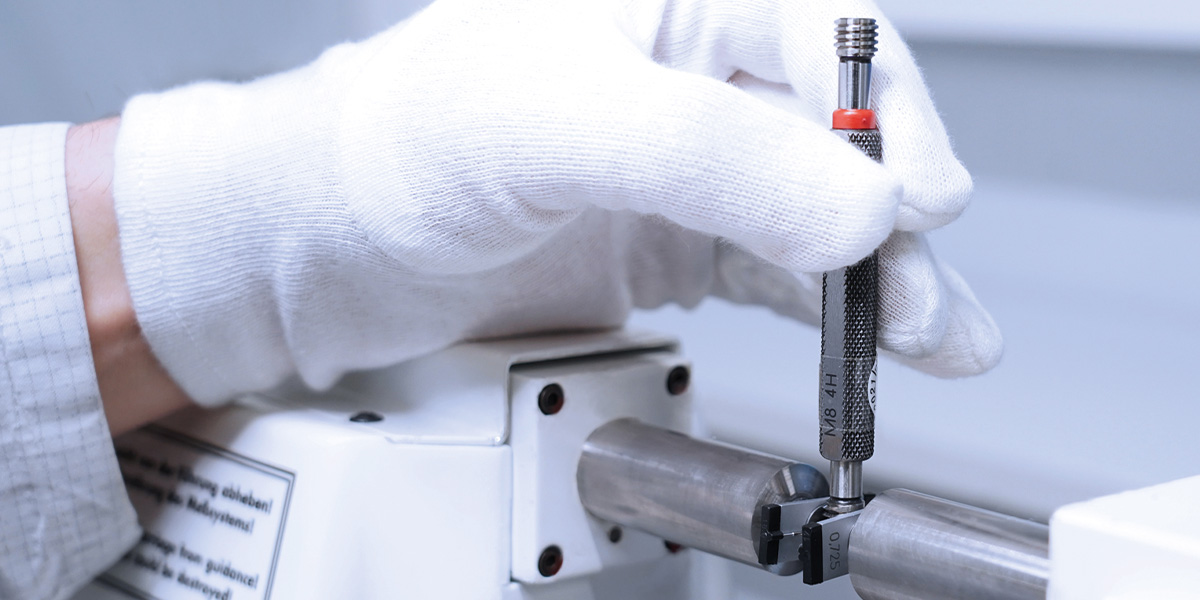
Tactile measurements for threads, adjusting rings, mandrels or gauges are carried out in our laboratories using suitable ruby ball probes. The handling requires a sure instinct and the highest level of precision mechanics from our experienced technicians. Since the statement “good” or “bad” is often not sufficient when checking measuring equipment, calibration variables such as pitch, diameter, roundness or form deviation are all the more important in order to be able to evaluate the exact properties of measuring equipment.

Service
Logistics Expert
With the esz AG collection and delivery service, your sensitive test equipment is always in safe hands. Choose between individual collection and delivery or our weekly delivery service with fixed routes.
Your benefits
- Full service – everything from a single source
- DAkkS-accredited calibration of many dimensional testing devices
- Most accurate results thanks to automatic operating sequences
- Reference conditions through air conditioning and decoupling of the laboratories
More information
DAkkS & Factory/ISO calibration
- Length
- Thread
- Diameter
- Gauge blocks
- Means of measuring length
- Line dimensions, distances
- Flatness/straightness
- Parallelism
- Coordinate measuring devices
- Angle
- Slope
- Callipers
- Micrometres
- Dial gauges
- Precision indicator
- Parallel gauge blocks
- Test pins
- Limit plug gauges
- Thread plug gauges
- Gauges and setting dimensions
- Angle
- Protractor
- Inclinometers
- Line lasers, levelling lasers and point lasers
- Rulers
- Thread
For gauge block calibration, the requirements for the measuring chamber temperature are so high that a temperature difference of 0.5 K or exceeding tolerance class 2 according to DIN ISO 3650 Table 4 already leads to the calibration being stopped. The system’s measuring table is designed with wear-resistant carbide strips that facilitate low-friction movement of the gauge blocks with defined support. During the measurement, one measuring point on the standard and five measuring points on the gauge block to be tested are approached in succession and measured via two inductive probes, the values of which are added together. An electro-pneumatic lifting device is used to lift the push-buttons while the gauge blocks are being moved. It is also connected to a gauge block suction lifter for inserting and removing small gauge blocks.
Due to the standardisation of our operating procedure, our customers always receive the most reliable results. By using the measuring force-controlled and joystick-activated drive of the measuring carriage with progressive deflection characteristic, automatic probe recognition, automatic recognition of external and internal measurements and the computer-aided search for reversal points, we have been able to significantly simplify our calibration procedure compared to conventional methods. We achieve the lowest measurement uncertainties by using aerostatic guides for all slides mounted on the machine bed, a movable bearing of the measuring quill via a backlash and friction-free spring parallelogram or the electronic measuring force control and automatic probing. This enables us to avoid subjective influences and unintentional collisions with the test specimen as far as possible.

