Mechanics
Mechanical quantities
How big, how heavy, how strong, how fast?
esz answers these questions with the greatest degree of precision in the laboratories for mechanical measured values such as pressure, scales / weights (mass), force, vibration, shock, acceleration and torque. High-precision and modern measuring stations in our mechanical laboratories ensure traceable and manufacturer-independent calibration. Your mechanical test equipment. Both ISO/factory calibrations and calibrations in accordance with DIN EN ISO/IEC 17025:2018 are possible. In addition, they advise esz employees on all questions relating to the relevant measurement technology, constantly assess measurement results & -processes and are active in national committees.


Your calibration offer
We’ll be happy to provide you with a no obligation quote for the calibration of your measuring devices.
Force
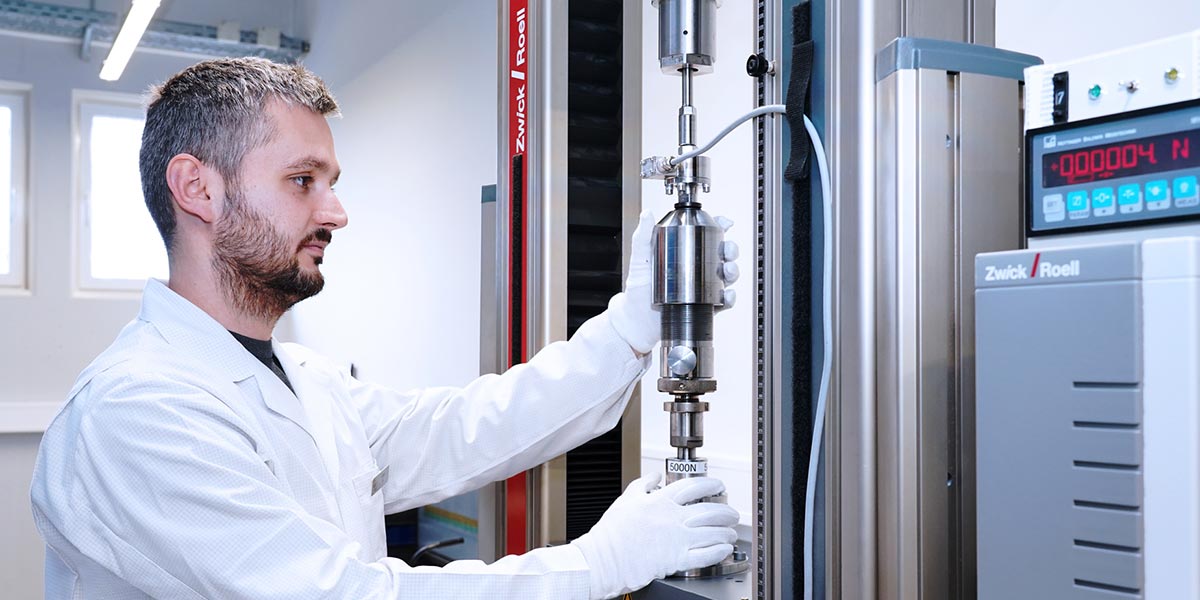
Whether in the field of vibration technology or mechanical engineering: The measurement of forces and torques is the basis of numerous applications in industry and research, such as materials testing. With quasi-static loading, force gauges, force sensors or load cells are calibrated in tension and compression in a fully automatic process.
Accurate to half a thousandth at ten tonnes
With a wide range of 50 N to 100 kN, the most precise forces (0.05 % of the measured value and better) can be generated. The force standard measuring device in our mechanics laboratory thus achieves performance data that come close to those with a direct mass effect due to the weight of load bodies in the Earth’s gravitational field. The procedures are adapted to the requirements of DIN EN ISO 376.
Torque
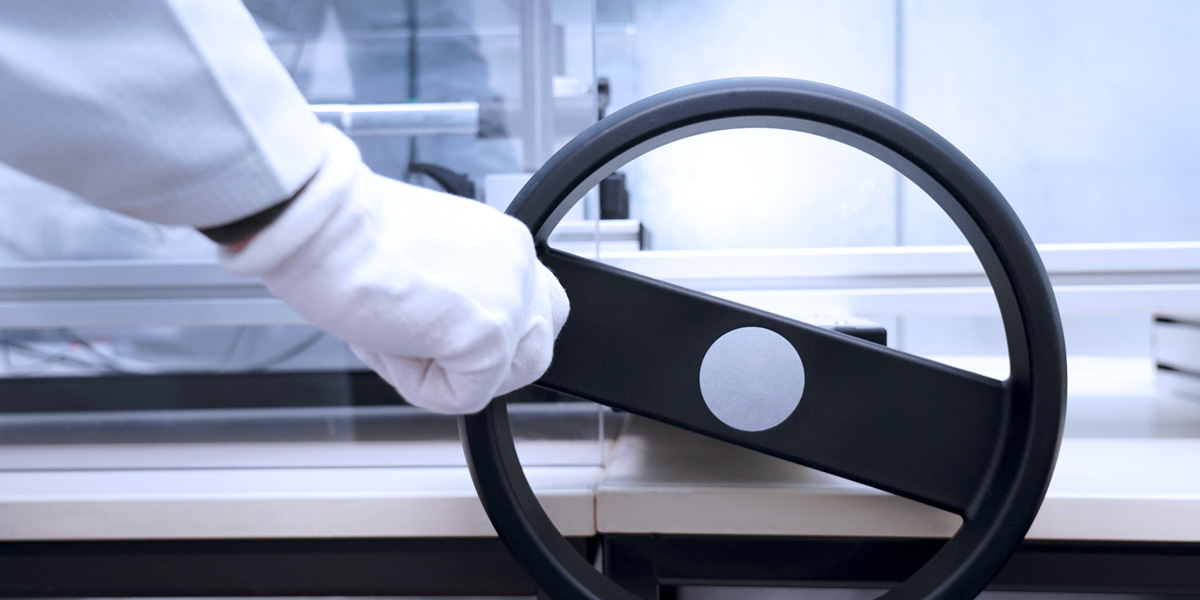
The granting of accreditation for “torque transducers in test benches” demonstrates esz’s expertise in this area, which offers enormous added value for engine manufacturers. They can now have their products tested for the basic parameters of speed and torque. However, these so-called performance test systems can also be used to determine efficiency, fuel or energy consumption, exhaust gas, vibration, temperature behaviour and noise.
Acceleration
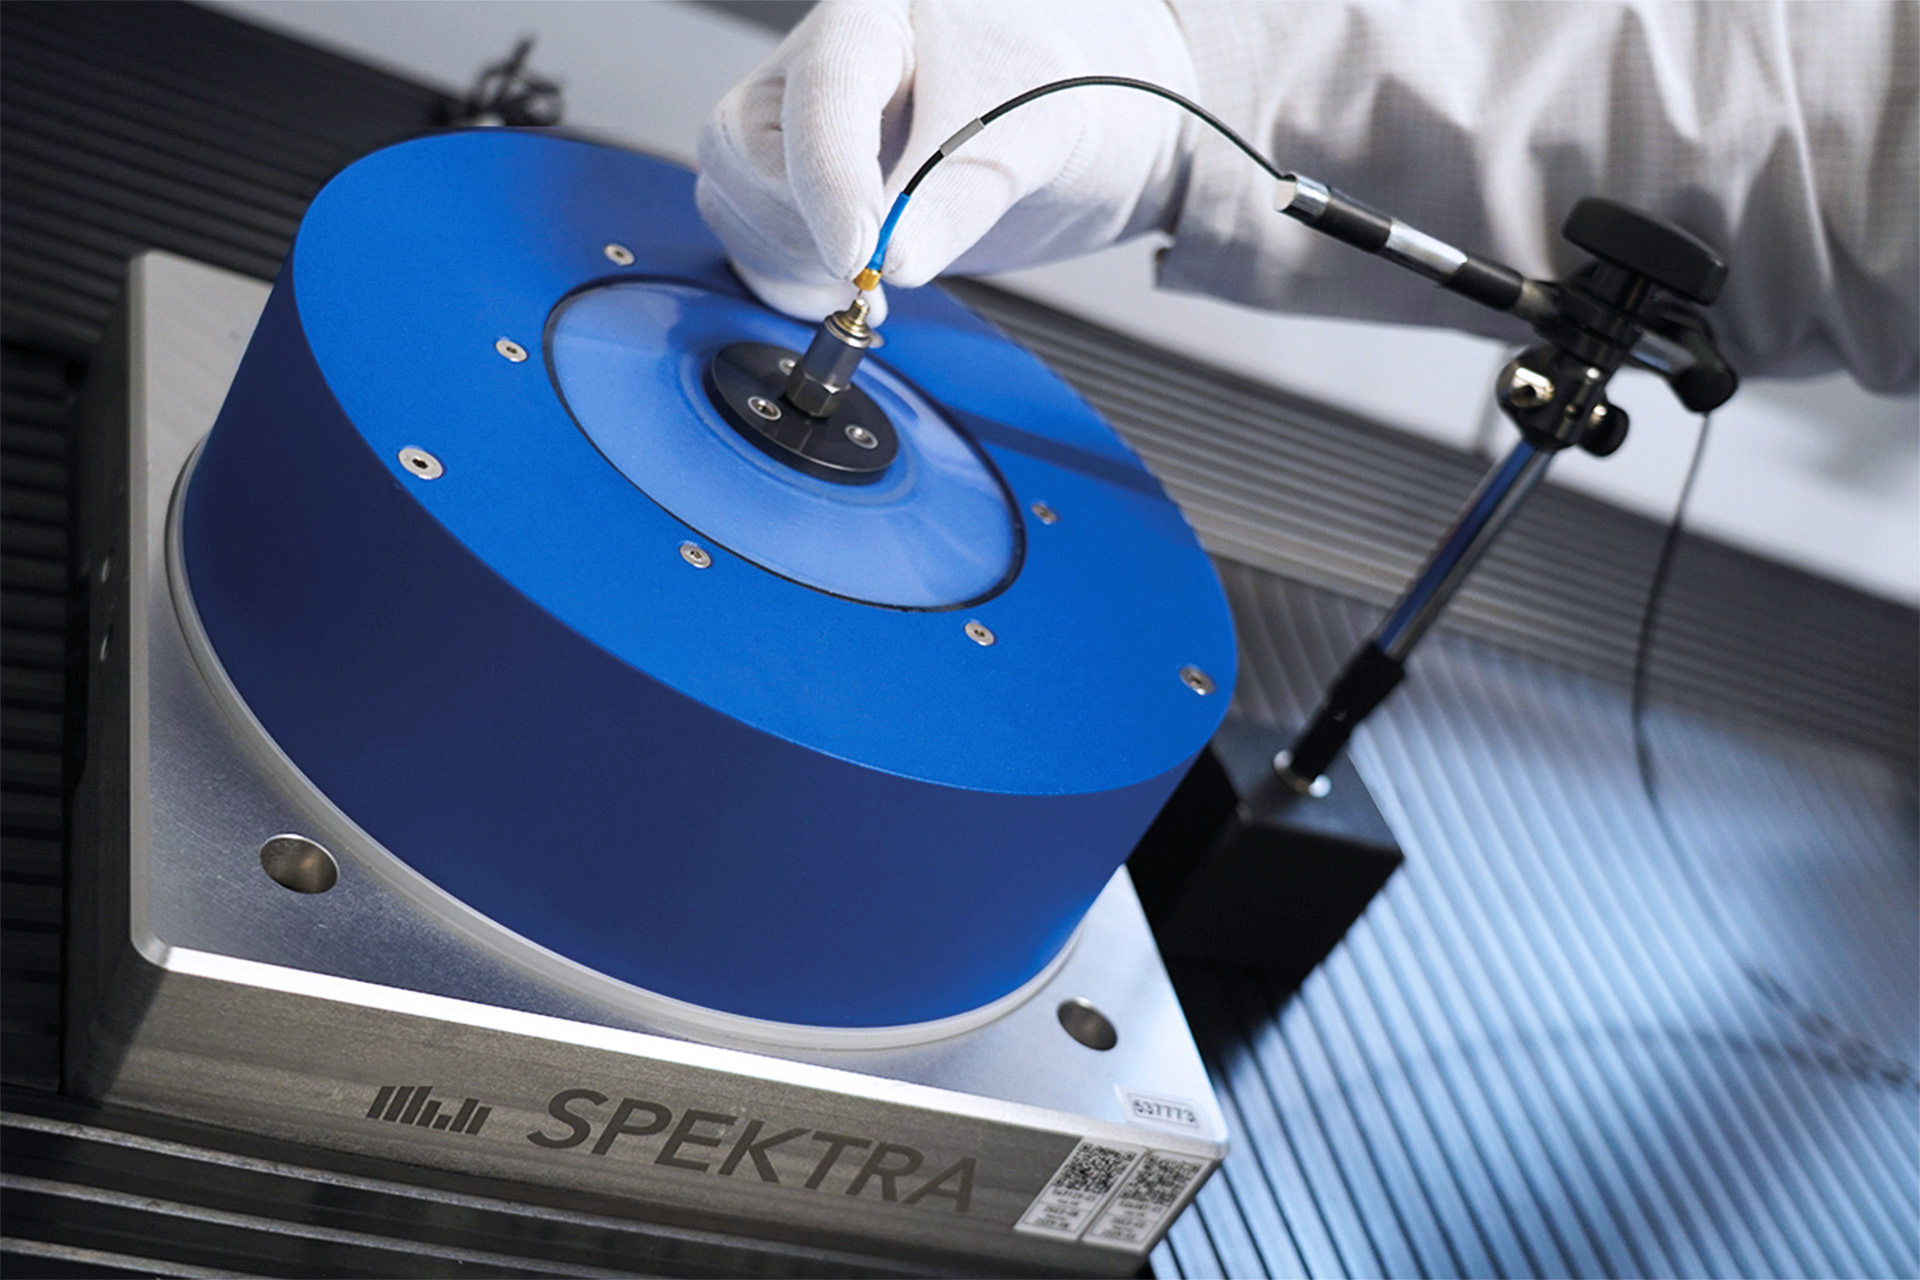
In industry, vibration forces act during various work processes, which are measured with the aid of acceleration sensors and transducers. The mechanical laboratories of esz AG offer the calibration of almost all vibration test equipment.
We calibrate acceleration sensors and accelerometers using a medium-frequency acceleration calibration system. This enables calibration at frequencies up to 20 kHz with the lowest measurement uncertainties.
The high-precision measuring and testing capabilities of our standard measuring equipment are primarily used for calibrating measuring equipment for practical use when special requirements are placed on accuracy and reliability. The system is also used for the comparative calibration of charge, ICP®, voltage, capacitive and piezoresistive accelerometers, velocity and vibration displacement transducers with sinusoidal excitation with maximum accuracy.
Masses, scales and weights
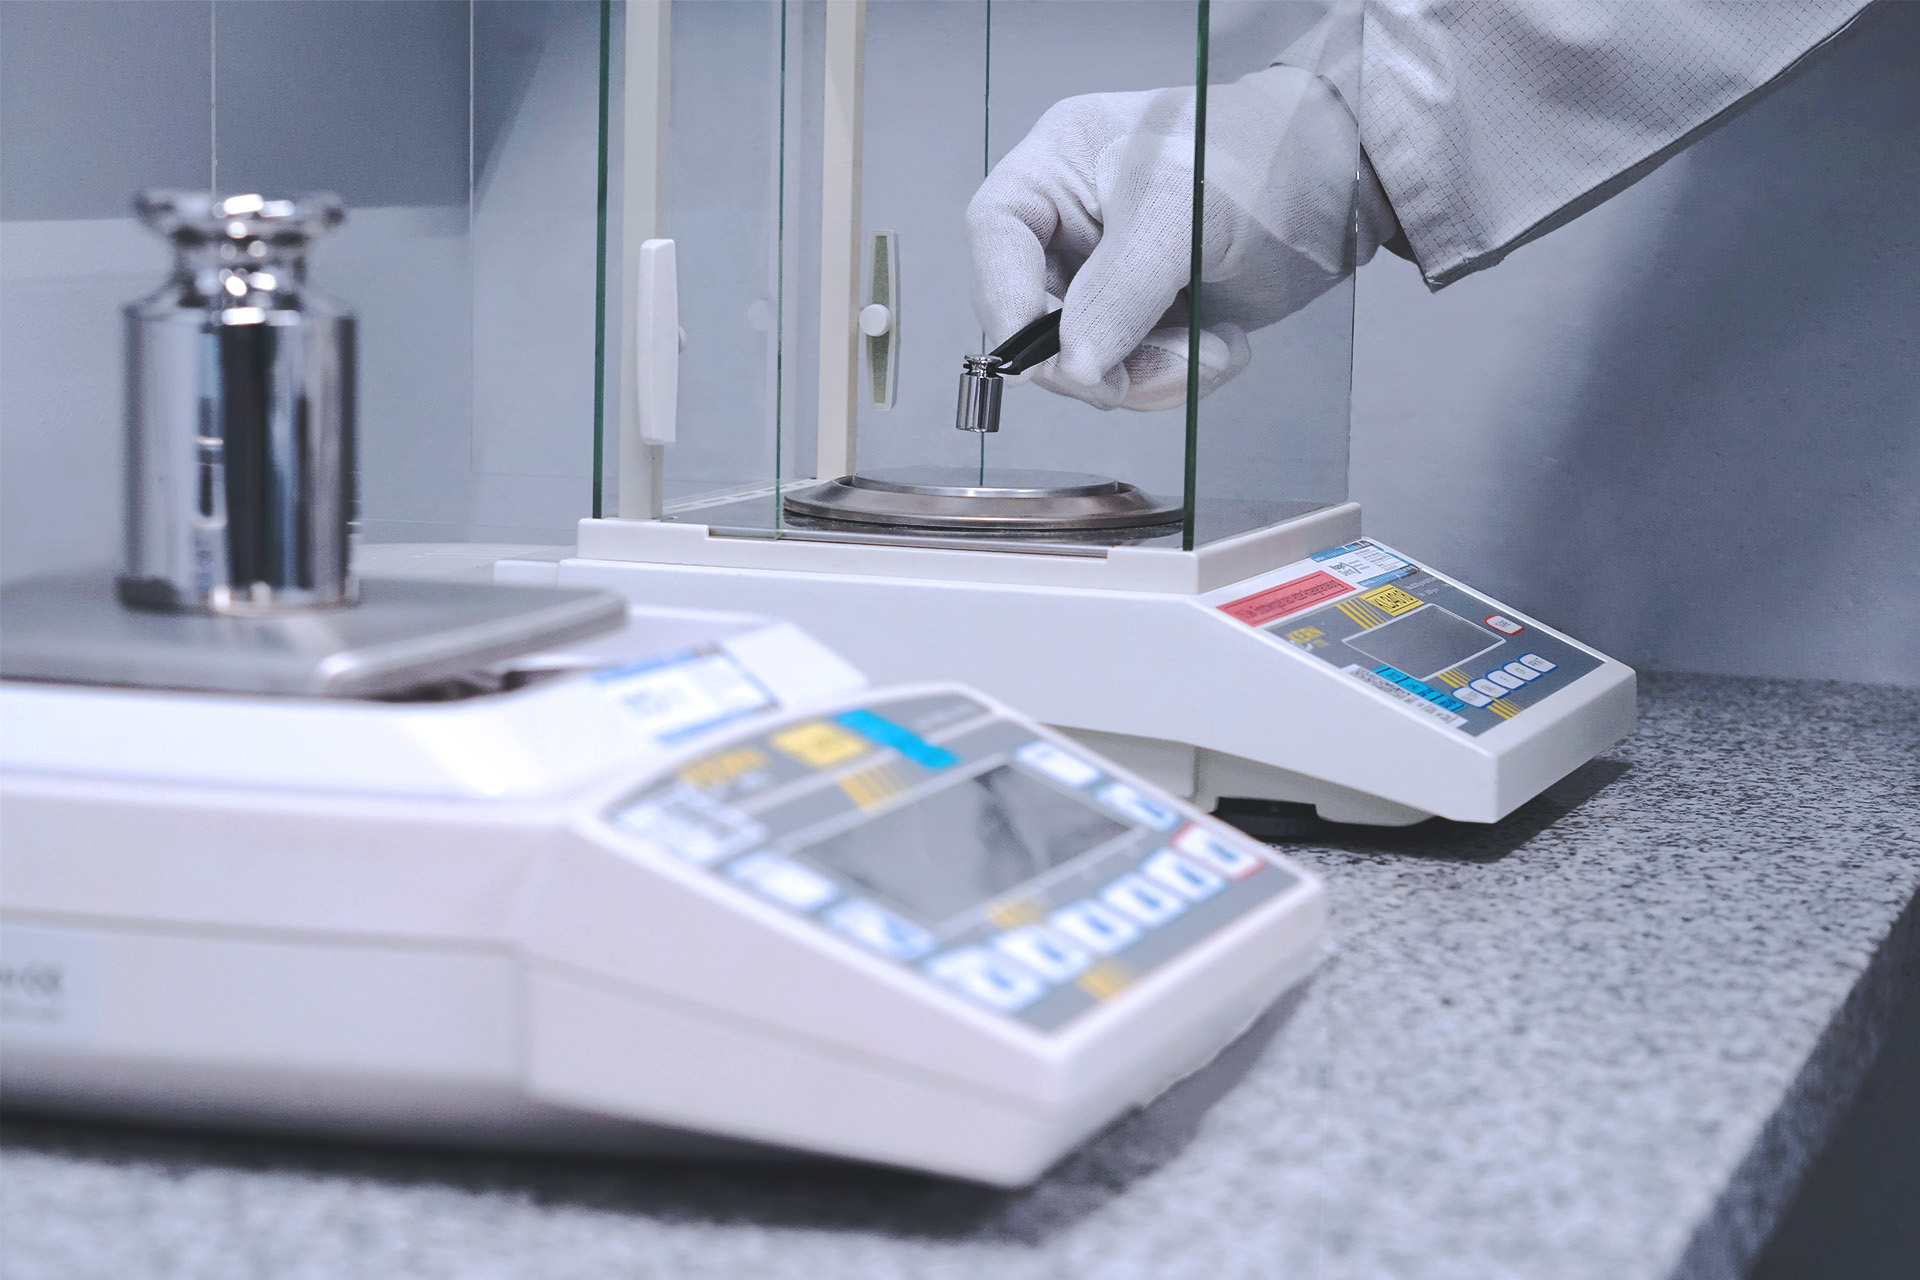
Calibrated measuring devices require calibrated test equipment. In the case of scales, these are calibrated test weights or weights, also known as “standards”. This is because every scale only delivers correct results if it is regularly checked, i.e. correctly calibrated and adjusted if necessary. Only through documented calibration does a scale become a reliable measuring and testing device. The requirements for this are regulated by the EURAMET cg18 Rev, 4th edition. The aim is to first determine the influencing variables of the measurement uncertainty in order to then be able to estimate the quality of the weighing results.
Major challenges with the smallest amounts of material
Just how important correct weighing is in industry can be seen, for example, in medical technology, where the smallest quantities of materials are involved. In semiconductor production, too, doping in the microgram range determines key material properties. We carry out the calibrations in the mechanics laboratory or at the installation site and use calibration weights of the highest quality. We therefore fully meet the requirements of the DKD and OIML. The weighing procedures in comparison with the standards must be carried out under draught-free conditions, as even the smallest fluctuations in air pressure can lead to deviating results.
Pressure
Determining and monitoring the prevailing pressure plays a key role in many areas of industry. In our pressure laboratory, we carry out accredited calibrations for you in accordance with DKD-R 6-1 from vacuum up to a pressure of 1000 bar. Our laboratories have a wide range of primary, reference and working standards with which we can calibrate your analogue spring pressure gauges, any digital pressure sensors/transmitters, hand-held measuring devices and pressure calibrators.
Extreme accuracy requirements
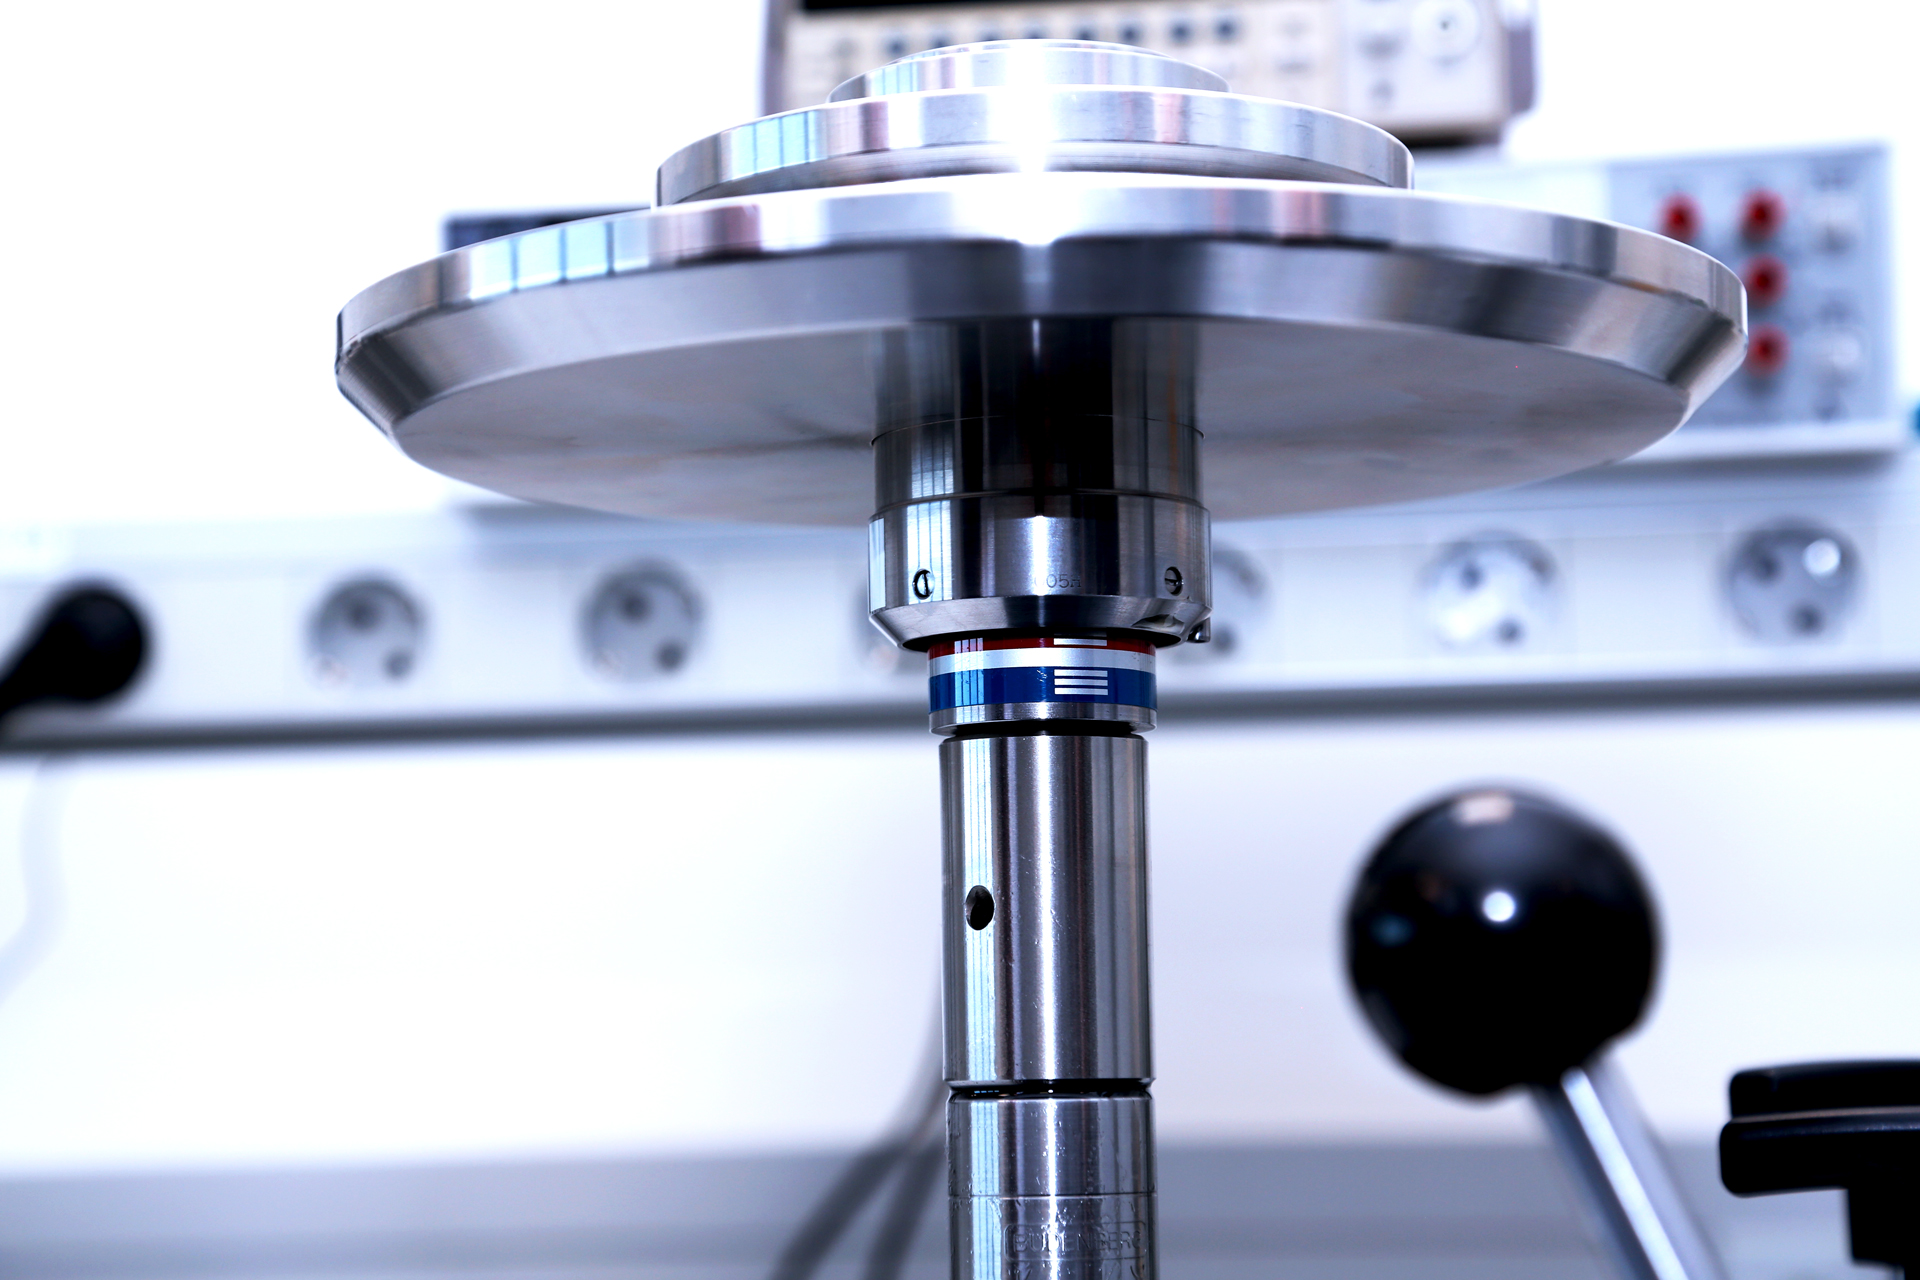
For precision measurements, it must be taken into account that the weight force on a mass depends on the acceleration due to gravity and that this depends on the location. For the extreme accuracy requirements, even the deformation of the piston and cylinder under pressure and the buoyancy of the weights in air must be taken into account. To eliminate measurement errors caused by static friction between the piston and cylinder, the piston and the weights on it are rotated around its axis. Fully automatic pressure controllers also work in the same accuracy class. These are operated with the pressure transfer medium nitrogen up to a maximum of 100 bar, depending on the range. In contrast, the medium of the pressure compensator is hydraulic oil, which can generate up to 700 bar. Up to 1000 bar, calibration is carried out with water compressors.
Flow rate
In the esz laboratory for flow quantities, we carry out calibrations of gaseous media as well as flow and volumetric flow meters, independent of the manufacturer, of course. Operators in the medical technology and pharmaceutical technology sectors in particular are dependent on calibrations with the smallest measurement uncertainties in the area of flow. We also provide customers in the gas supply technology, food and building technology sectors with precise results.
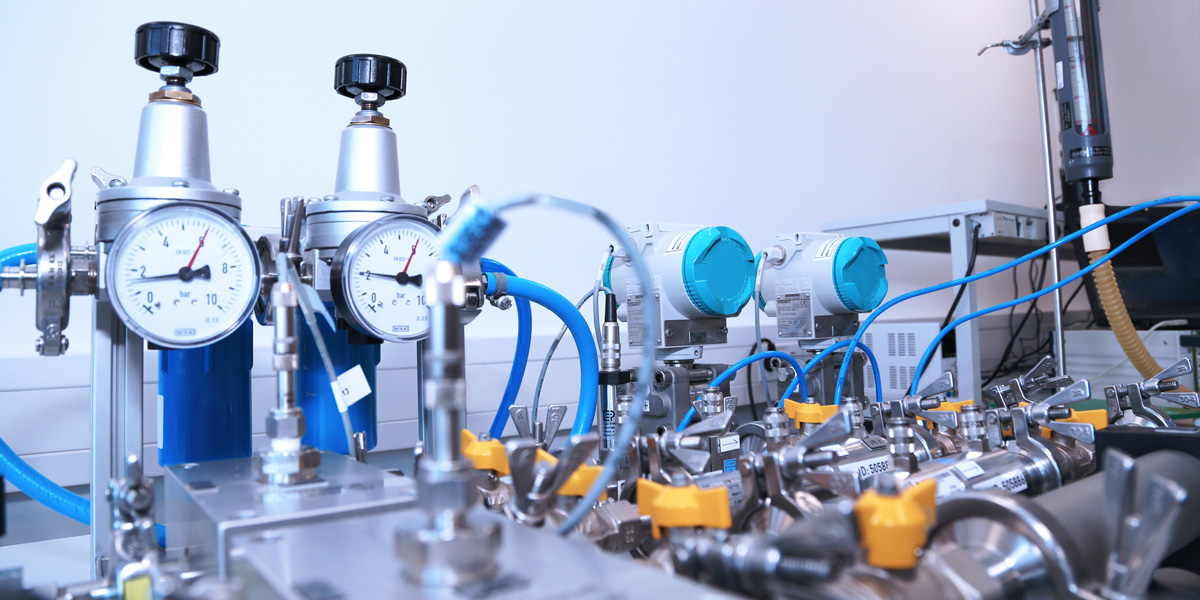
The LaminarMasterFlow® measuring system from esz AG is used to calibrate air volume and mass flow meters and enables flow calibrations with the smallest measurement uncertainties. The system is operated at near atmospheric pressures and is designed as a multiple measuring section with manual switchover.

Service
Logistics Expert
With the esz AG collection and delivery service, your sensitive test equipment is always in safe hands. Choose between individual collection and delivery or our weekly delivery service with fixed routes.
Your benefits
- Full service – everything from a single source
- DAkkS-accredited calibration of almost all test equipment
- Further measuring uncertainty
- Excellent performance data of the force standard measuring device
- Repair, adjustment and calibration possible in our own service laboratory
More information
DAkkS & Factory/ISO calibration
Mechanical quantities
- Pressure
- Absolute pressure
- Relative pressure
- Force
- Torque
- Torque in test benches
- Scales
- Mass
- Acceleration
- Screen tension
- Scales and weights
- Pressure gauges
- Digital and analogue pressure gauges
- Pressure regulators
- Pressure calibrators
- Fabric tension gauges and screen tension
- Accelerometers
- Force gauges
- Torque measuring devices
- Flow measurements
- Variable area flow meter
Measuring objects, standards and standard measuring devices are calibrated on the basis of the basic quantity of mass in the SI unit kilogram, with which the measuring scales for all relevant mechanical measurands, such as mass, force, torque, acceleration, flow of gases or pressure, can be displayed with the highest accuracy and passed on to users.
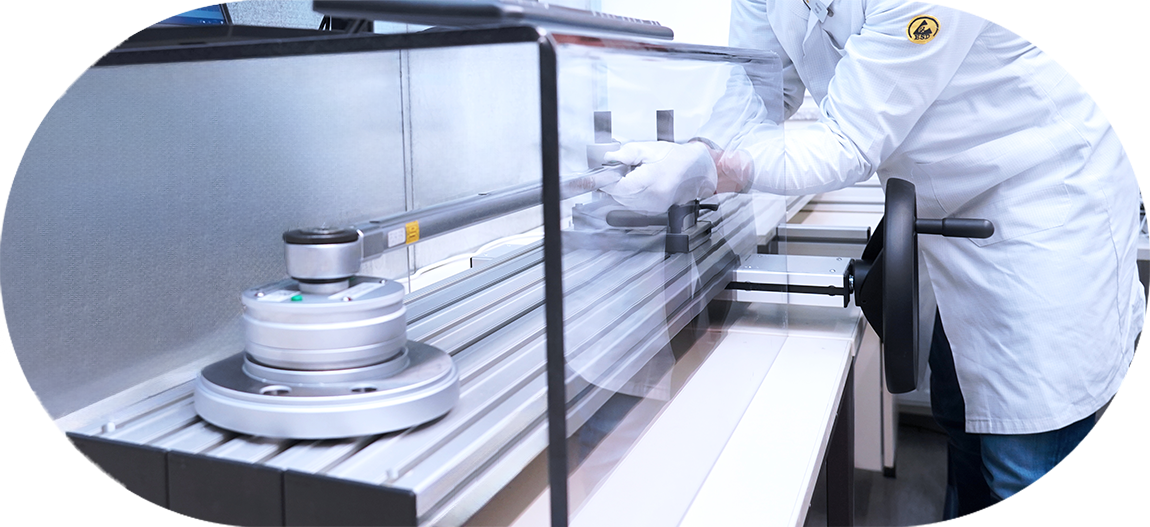
The handling (installation position and arrangement) complies with the specifications of ISO 6789. Torque is applied centrally to the torque wrench output and the handle is also supported in the same way as ISO.
The calibration device can also be used to calibrate torque measuring chains consisting of sensors and display unit. A mechanical attachment is used for this, which is placed centrally above the drive unit. These can accommodate sensors with input and output square edges (1/4″, 3/8″, ½”, ¾”; 1″), which are then loaded with a corresponding torque. A readily available mechanical system with appropriate gears is used as the drive system and the torque is coupled directly to the reference standard and test specimen via compensating couplings. The torque output is supported in an air bearing against lateral forces in order to eliminate interference torque influences.
Torque is defined as the product of an acting force and the perpendicular distance to the selected pivot point. This means that the unit of torque is derived from the units of force (the Newton) and length (the metre). The Newton, in turn, is traced back to the SI base units kilogram, meter and second. The transfer of this derived measured variable for torque wrenches and torque wrench tools, for example, is described in guidelines such as DIN EN ISO 6789, DIN 51309 or DKD-R 10-8.
In accordance with the requirements of ISO 16063-21, we can perform acceleration calibrations up to 200 m/s² and 200 g accelerated mass. The core of the measuring unit is a shaker system with a back-to-back reference standard. The high-precision measuring and testing capabilities of our standard measuring equipment are primarily used for calibrating measuring equipment for practical use when special requirements are placed on accuracy and reliability. The system is also used for the comparative calibration of charge, ICP®, voltage, capacitive and piezoresistive accelerometers, velocity and vibration displacement transducers with sinusoidal excitation with maximum accuracy.
Pressure is a measure of the resistance that matter puts up to a reduction in the available space. Pressure is an intensive, scalar physical quantity with the SI unit Pascal. The usual formula symbol p is based on the English word for pressure. In most cases, pressure can be equated with the quotient of force F and area A. Our calibration systems and pressure piston gauges for displaying the measured variable are also based on precisely this principle. A precisely defined pressure is generated in a liquid or gas by exerting a defined force on a piston with a known cross-section. In practice, weights are placed on the piston (the piston is vertical, so-called pressure balance or piston manometer).
Switching to the desired measuring section of the LaminarMasterFlow® measuring system is carried out by manually reconnecting the corresponding sensors and manually adapting the corresponding LFE section. The four LFE measuring sections are mounted on a common base plate. The core of the LMF is a digital system with USB data acquisition hardware for analogue value processing and output of the measured values. The sensor supply is located in a 19″ plug-in unit; the measuring section and sensors are installed separately. In addition, volumeters from the BIOS DryCal ML-800-xx model series are operated, which have interchangeable flow measuring cells and each cover a dynamic spectrum of 1:100. The piston measuring systems (volumeters) are equipped with almost frictionless pressure pistons and photo-optical sensor technology to generate the flow rate display accurately and quickly. An atmospheric pressure correction and a user-defined temperature correction are integrated.
The corrections are implemented by means of built-in precision sensors and are used to display standardised flow rates, e.g. normal conditions (0 °C, 1013.25 mbar abs.). This feature is ideal for use in combination with mass flow meters. The devices also allow the user to set the number of measurement cycles for averaging.

