Automotive testing technology
The automotive industry uses a variety of testing equipment in all workshops, inspection centres, test centres and test bases of the technical inspection organisations (such as TÜV, Dekra & Co.) for the main inspection (HU). Brake test stands (BPS) determine the braking force of motor vehicles, headlight alignment test systems (SEPS) measure the angle of inclination of the headlights and exhaust gas measuring devices provide results on the emission values and particle quantities in the exhaust gas of the vehicles. esz AG calibrates this vehicle testing technology in cooperation with its partners, manufacturers and service organisations in the Calibration Expert Partner System (CEPS). esz AG was the first provider in Germany to fulfil the extensive requirements profile of the German Accreditation Body (DAkkS) for validated measurement procedures in the field of automotive testing technology. Since 2017, the company and its partners within the Calibration Expert Partner Systems (CEPS) have been offering accredited calibrations for brake testers, headlight testers, exhaust gas measuring devices, pressure gauges and electrical pressure measuring devices in vehicle workshops and other test equipment. Since 1 January 2017, brake testers must be calibrated by accredited providers. This applies to the initial commissioning of a brake tester and the regular calibration including a check for calibration capability (formerly “routine test”), which must be repeated at least every 24 months. Every intervention in the measured value recording also requires recalibration. The result of each calibration must be documented in a calibration certificate with the DAkkS accreditation symbol. Contractually bound companies in CEPS – Calibration Expert Partner System of esz AG can calibrate brake testers independently, on time and in accordance with the statutory regulations for vehicle testing technology. Since the beginning of 2018, the legislator has also required the accredited calibration of headlamp alignment test systems (SEPS) on a fixed, marked measuring station to which the headlamp alignment tester is calibrated. Headlamp alignment systems, consisting of light alignment device and mounting surfaces, must be checked before initial commissioning and subsequently at least every 24 months. For their calibration, esz AG developed a practice-oriented calibration set consisting of a tripod, inclination angle adapter, levelling scale, tape measure, line laser and inclinometer. The traceability and calibration of this measuring equipment is also carried out by the specialists from Eichenau. The accredited procedure used to calibrate point and line lasers is unique in Germany. Contractually bound companies in the CEPS – Calibration Expert Partner System of esz AG can calibrate brake testers independently, on time and in accordance with the statutory regulations for vehicle testing technology. Since 1 January 2019, calibration has been mandatory for exhaust emission test devices (AU), which must also be traced by an accredited laboratory. All AU devices used must be calibrated in accordance with DAkkS. Since 01.01.2023, the accredited calibration of exhaust particle measuring devices in workshops on site has been mandatory. The “AU device calibration guideline” sets out specific requirements for the calibration process and conformity assessment. Calibration of exhaust gas measuring devices by a service provider accredited in accordance with DIN EN ISO/IEC 17025 is required. Just like other AU devices, they must be calibrated before initial commissioning and then every 12 months. Opacimeters are still used for older diesel vehicles. With SYSKAP, the system solution for accredited calibration of exhaust particle measuring devices in the CEPS from esz AG, vehicle workshops and test centres meet the legal requirements quickly, safely and effectively. As a calibration laboratory, esz AG cooperates with the companies Knestel GmbH and Scale MT GmbH and offers an all-in-one solution consisting of hardware and software. Benefit from esz AG’s many years of expertise and accreditation for the calibration of pressure gauges and manometers. esz AG offers the right platform for rule-compliant calibrations of vehicle testing technology through the digital networking of partners, manufacturers and service organisations: CEPS – Calibration Expert Partner System Are you also interested in qualifying your technicians to meet the new challenges and becoming part of the esz AG network? Then take a look at the training courses for further education. The new version of the brake tester directive (Verkehrsblatt 14-2021 No. 149) has been in force since 31.07.2022. In addition to type approval, it also regulates the periodic testing (calibration) of brake testers. The main contents are: There are many different requirements for SEPS. There are many different requirements for AU devices. Calibration intervalCalibration of
Automotive testing technology

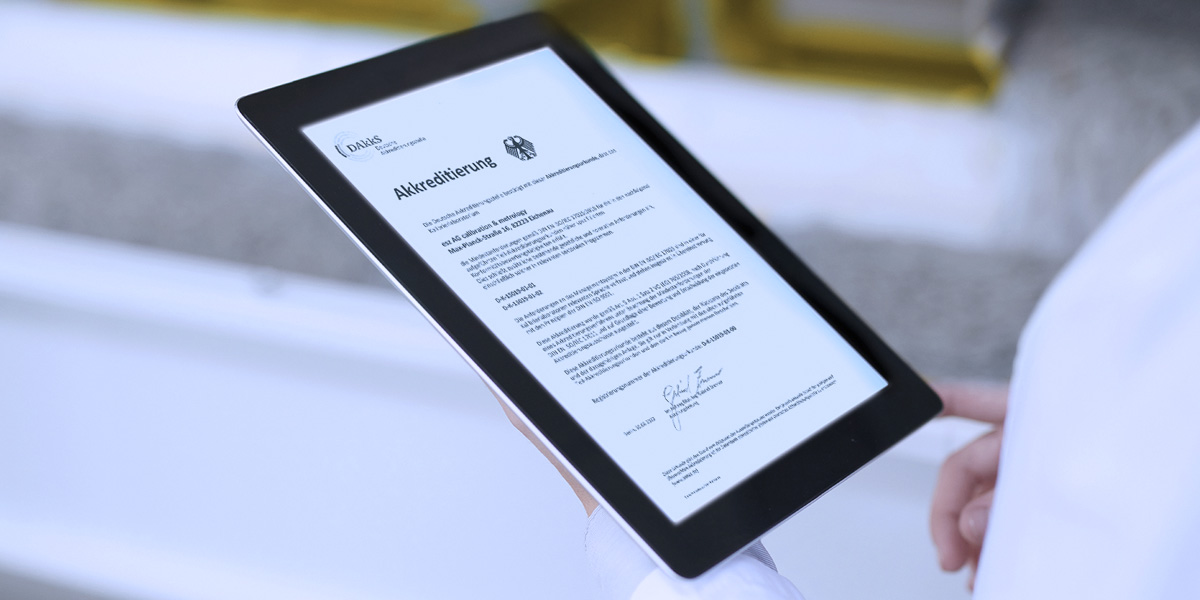
Accredited calibration
Calibration of brake testers
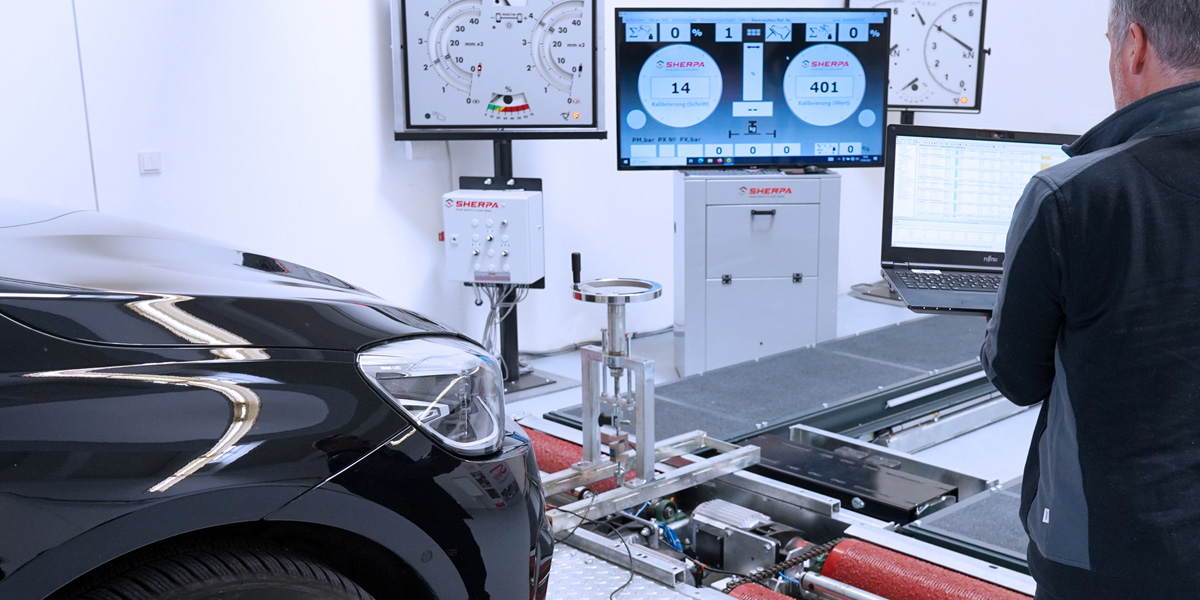
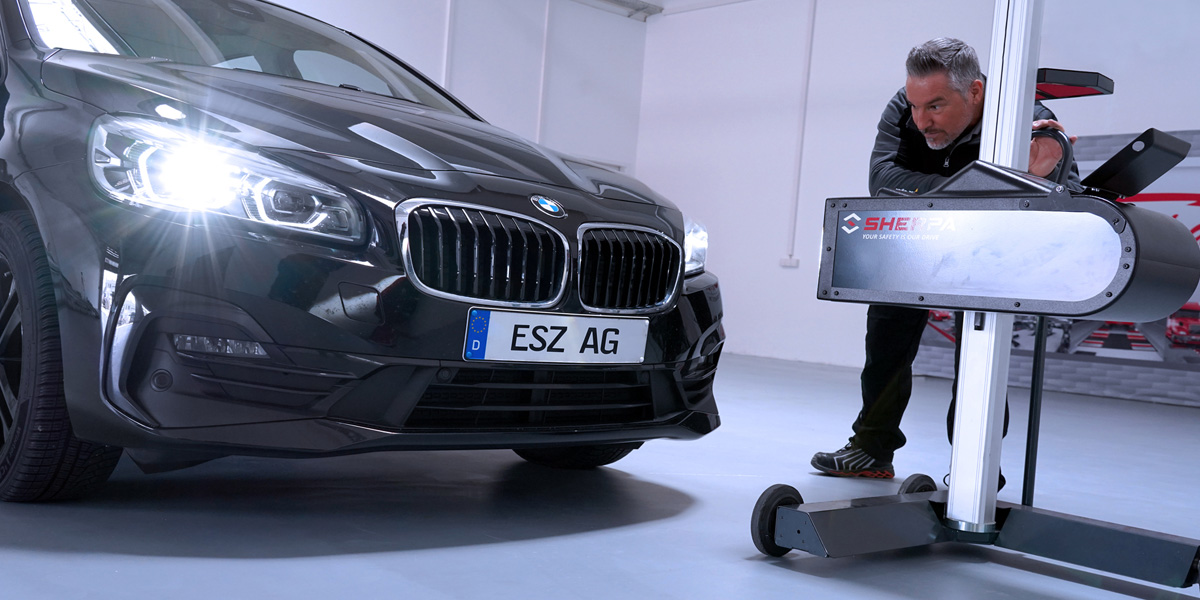
Calibration of headlamp alignment test systems
Calibration of exhaust emission test devices
The DAkkS calibration of flue gas measuring devices must be repeated at least every 12 months. In addition, every intervention in the measured value recording (e.g. during adjustment as part of annual maintenance) requires recalibration.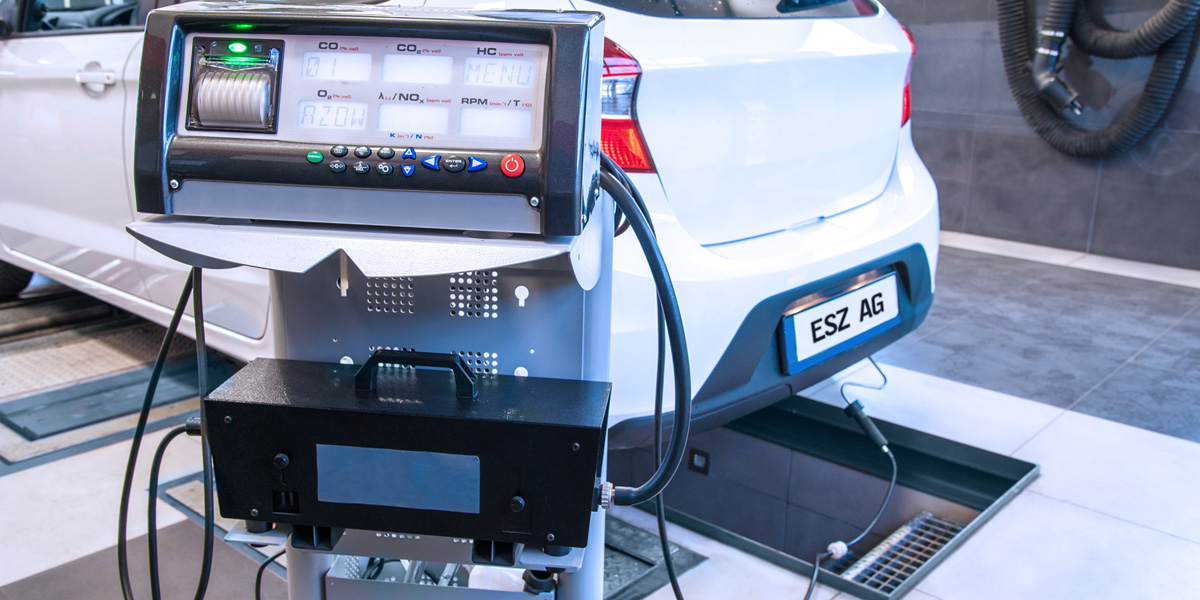
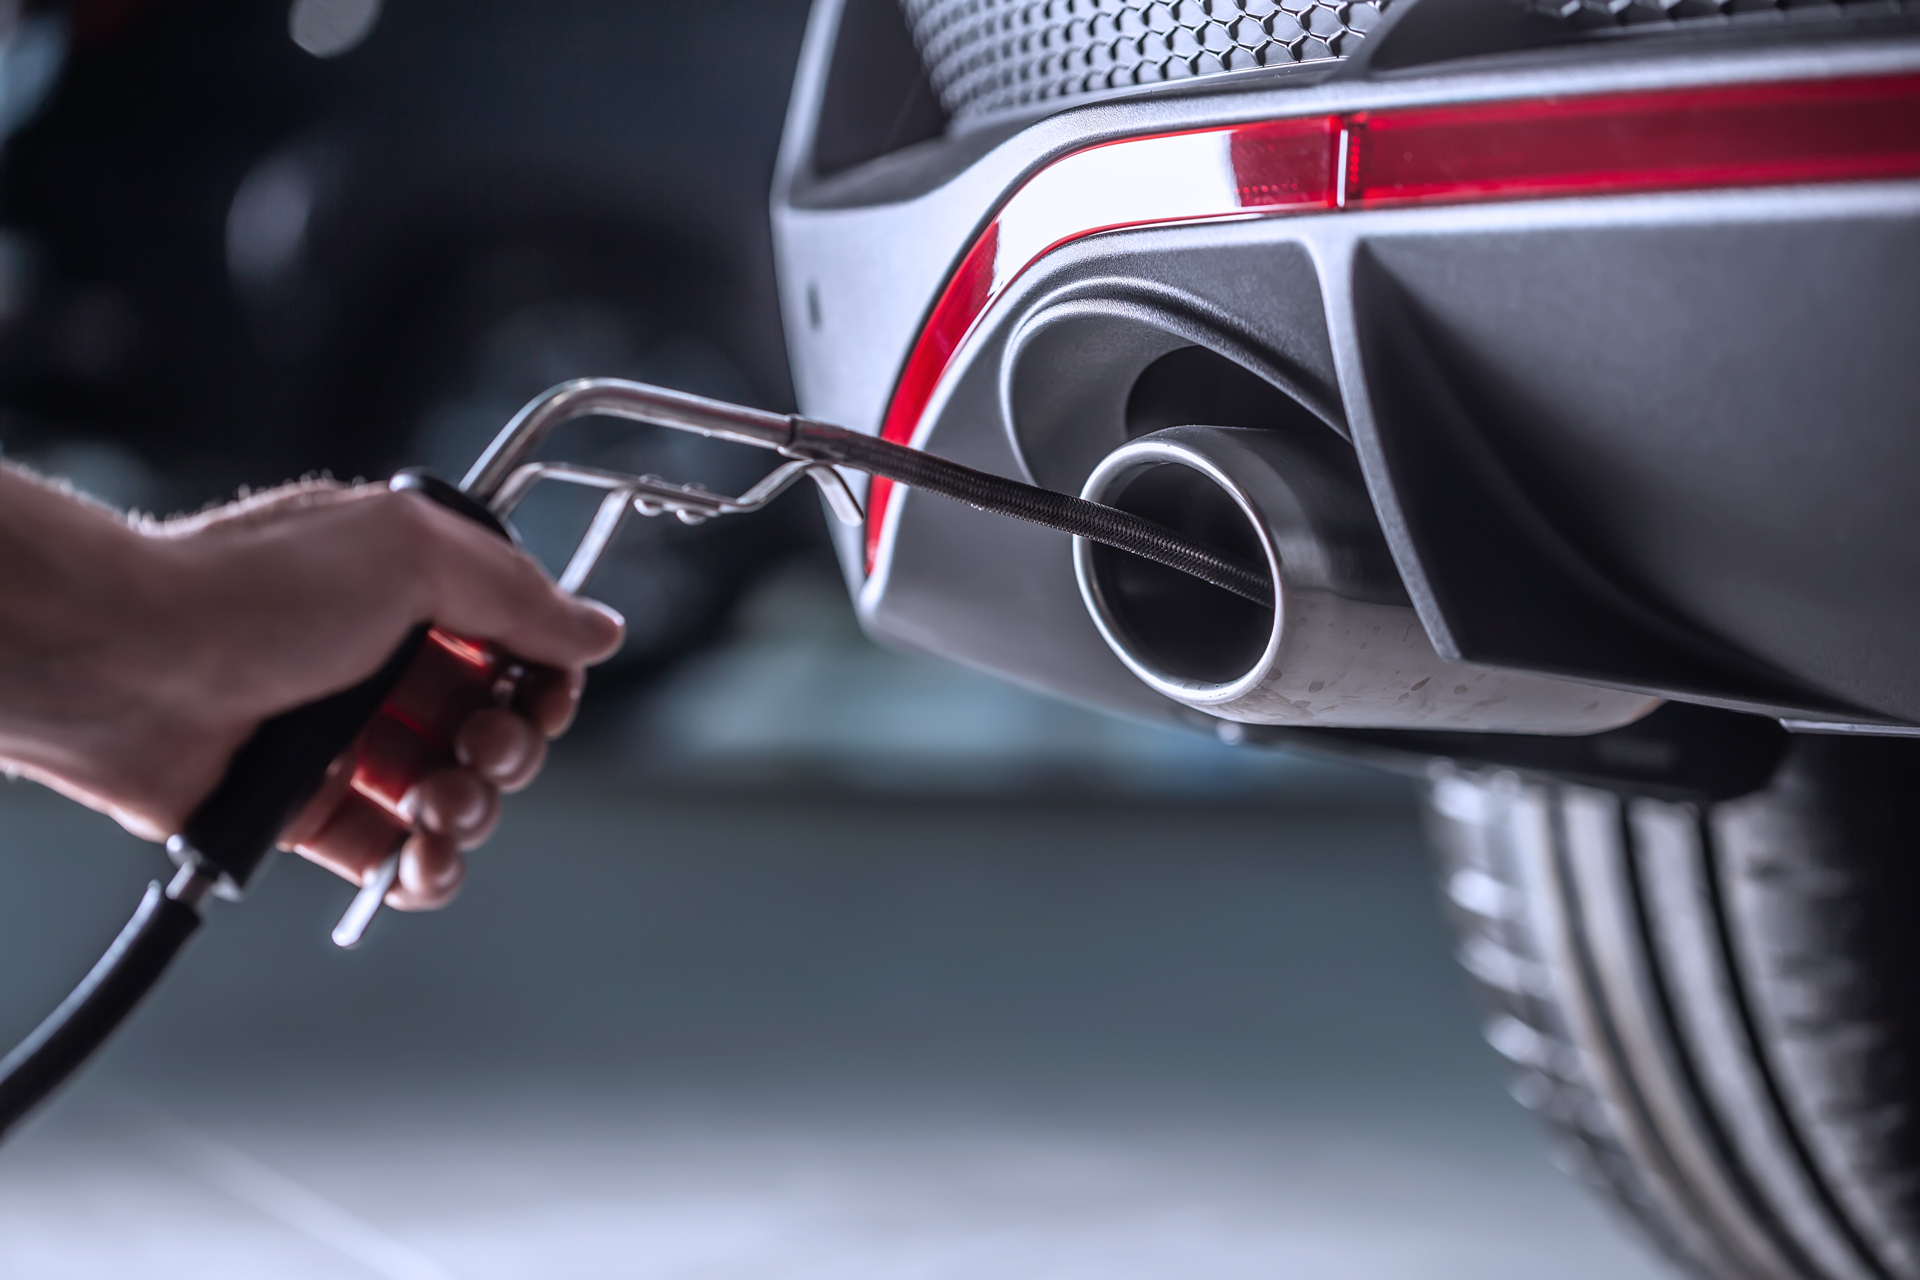
Calibration of exhaust particle number devices
SYSKAP
Calibration of pressure gauges and manometers
Motor vehicle companies that wish to offer official vehicle inspections and tests require accreditation in accordance with DIN EN ISO/IEC 17020. In Germany, this concerns the exhaust emissions test (AU/AUK) as well as the safety test (SP) and gas system test (GAP). The motor vehicle industry has established a central quality management system (QMS) for its companies with the AÜK system (Accredited Inspection in the Motor Vehicle Industry). In order to obtain AÜK approval from the DAkkS, all testing and measuring equipment used (e.g. measuring devices for the functional testing of air brake systems) must be calibrated by an accredited calibration laboratory in accordance with the standards. With CEPS, esz AG offers you an efficient and secure solution.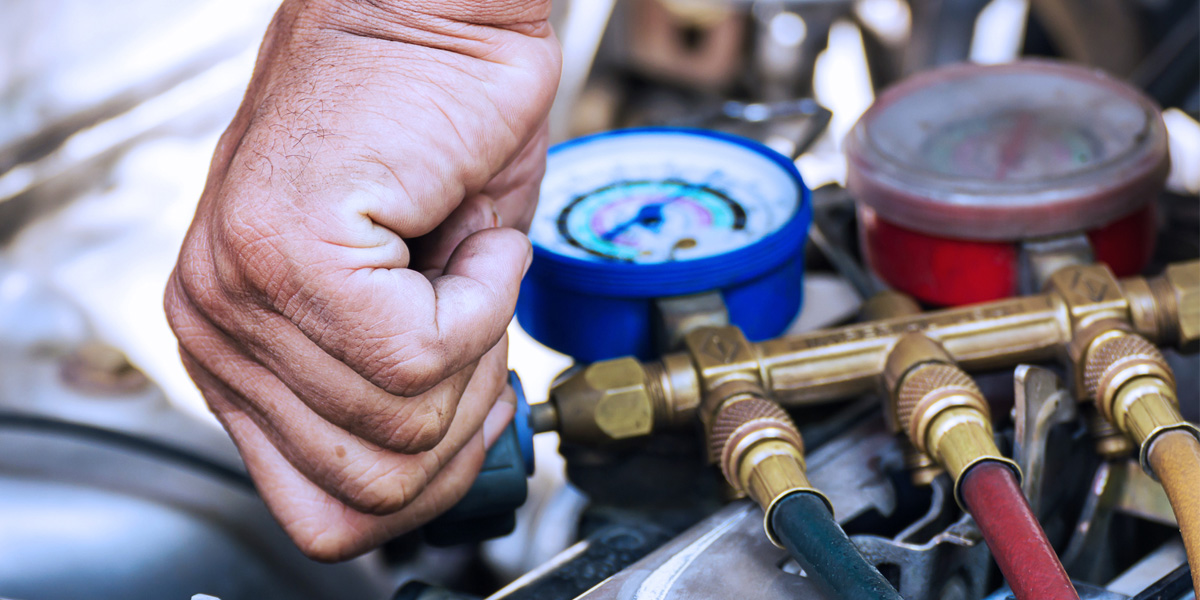
CEPS – makes it possible
Your benefits
More information
Transport Gazette 14/2021 No. 149 (“BPS Guideline 2021”)
